
Last updated November 21, 2026
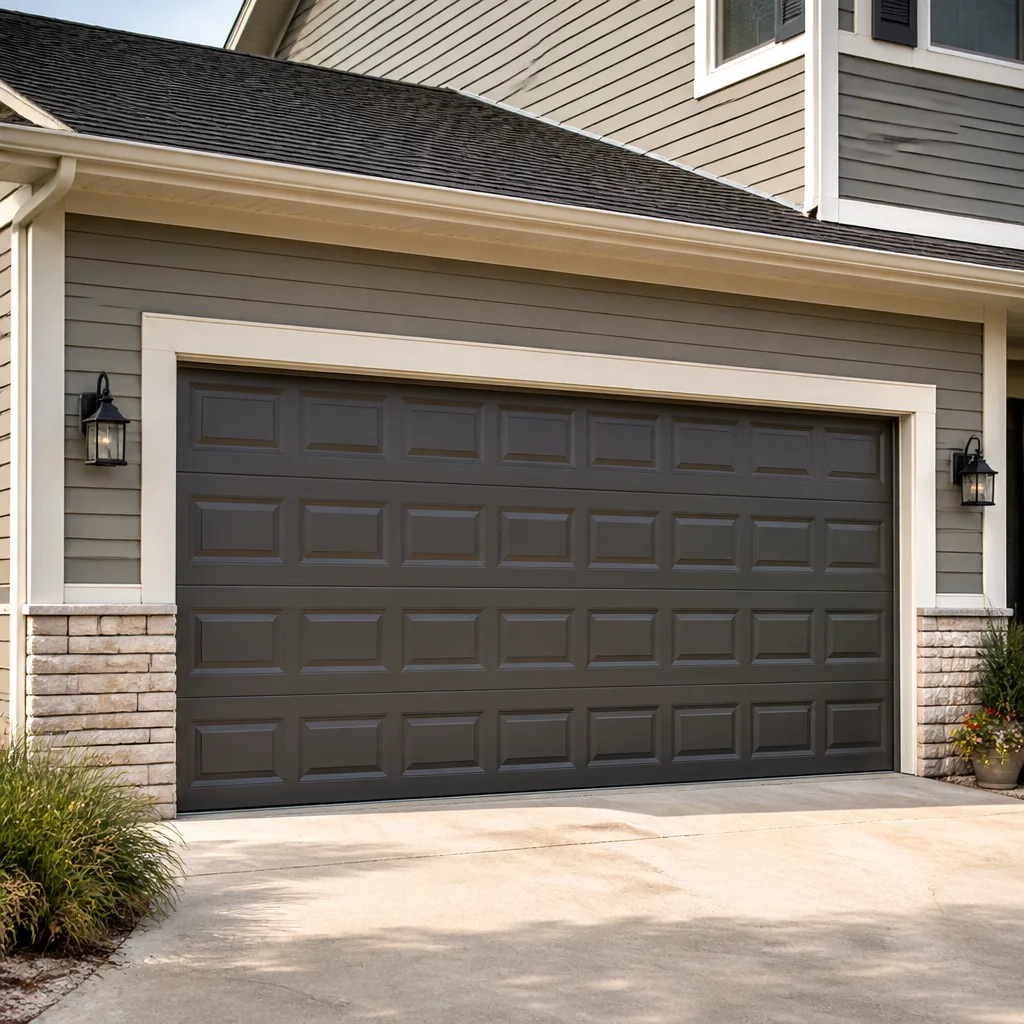 Raised-panel steel
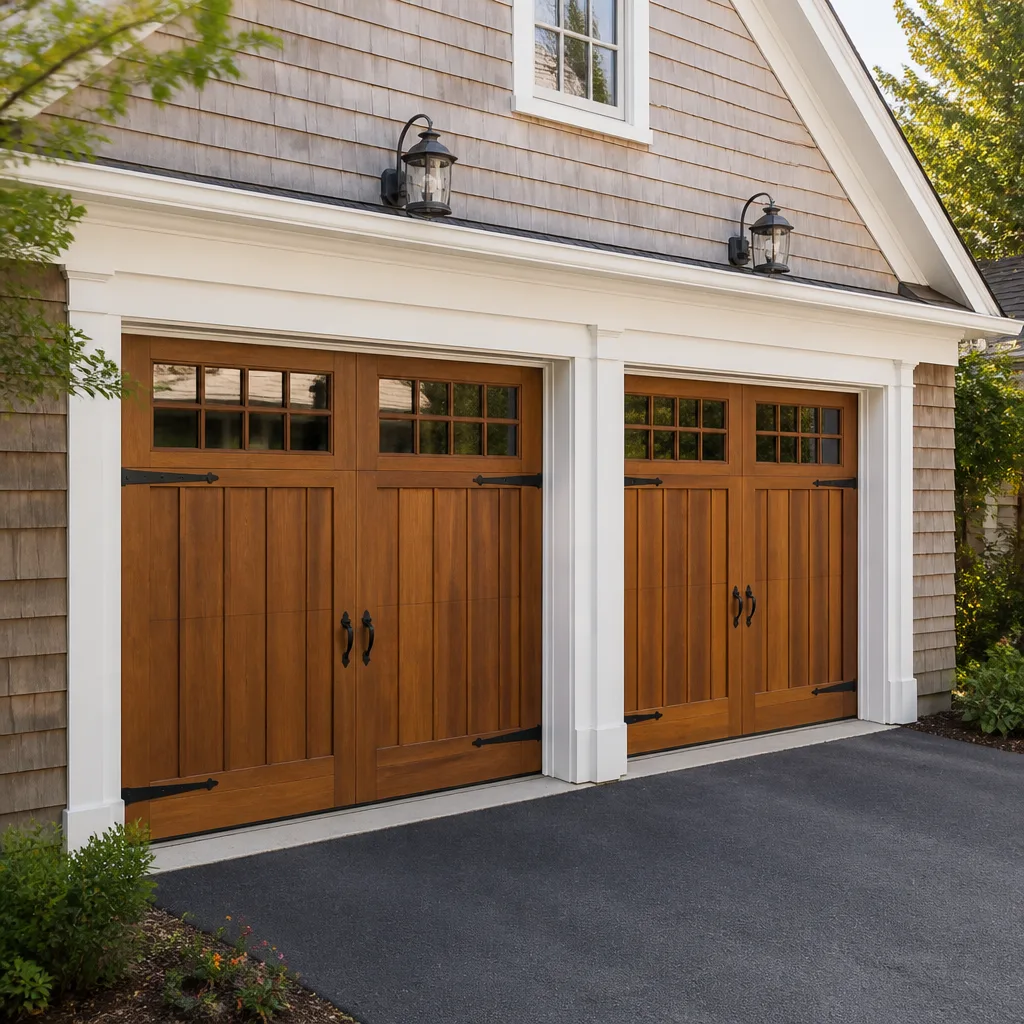 Carriage house
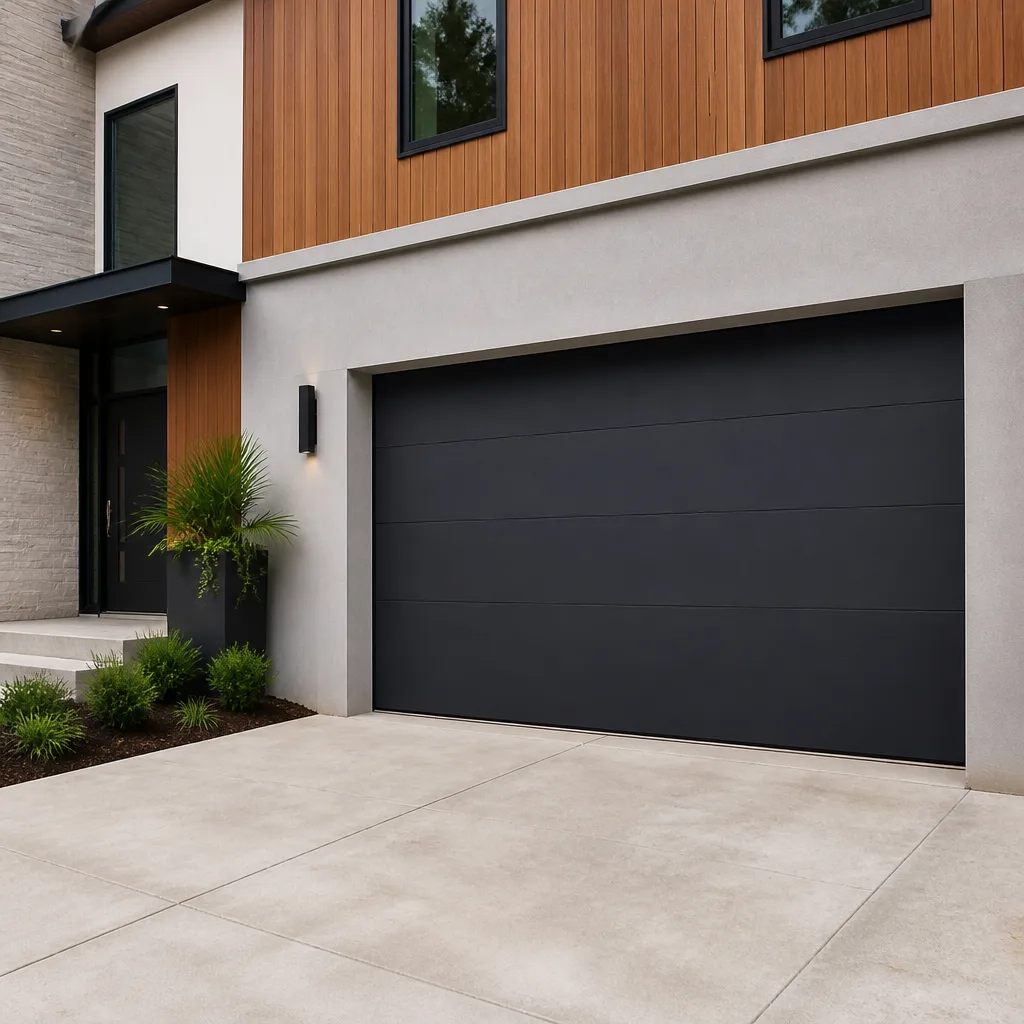 Modern flush
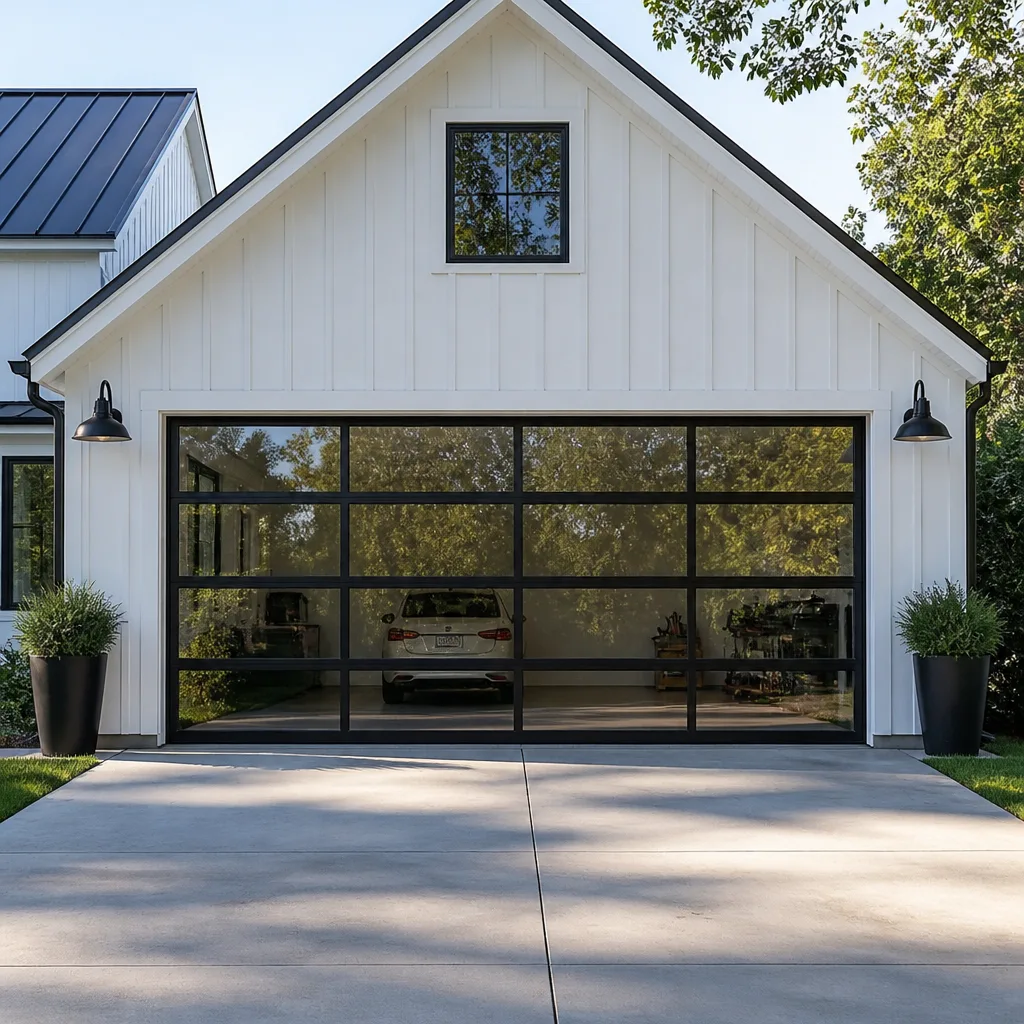 Full-view glass
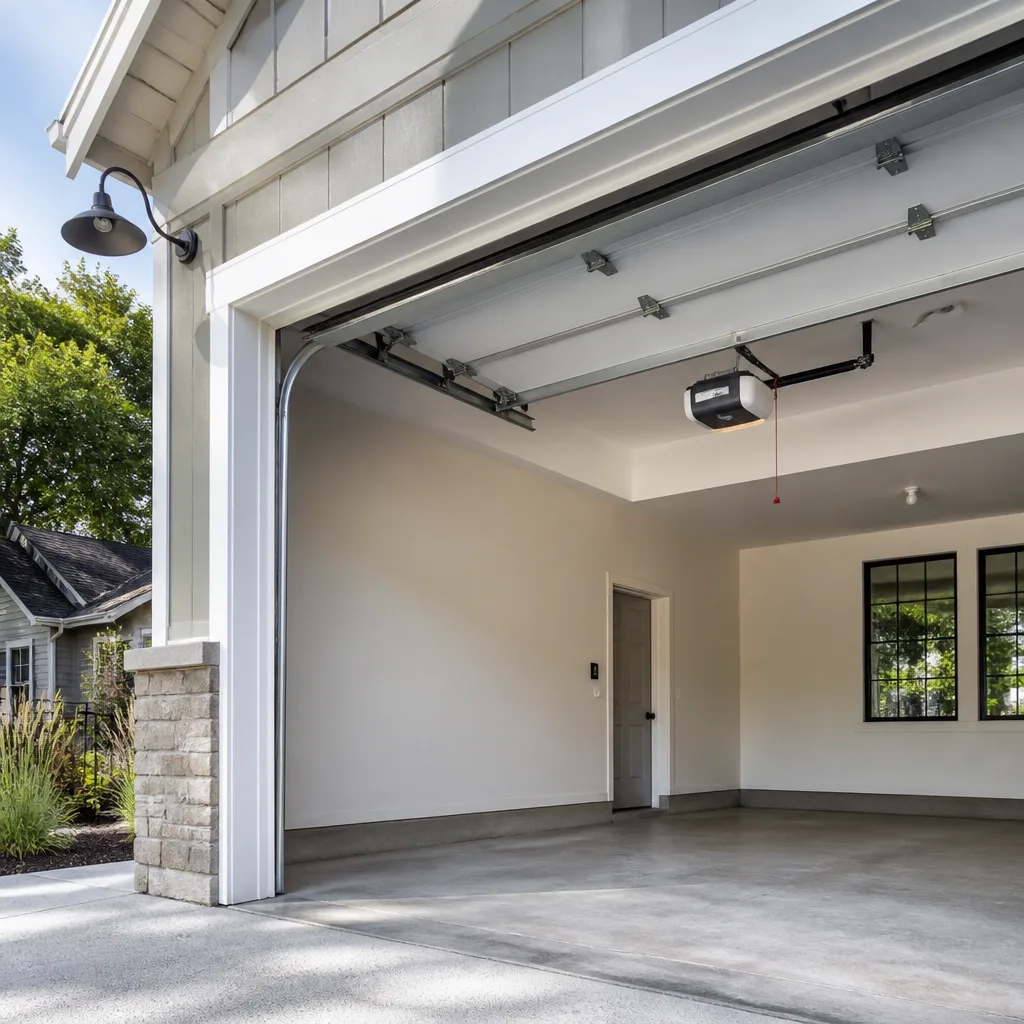 LiftMaster openers
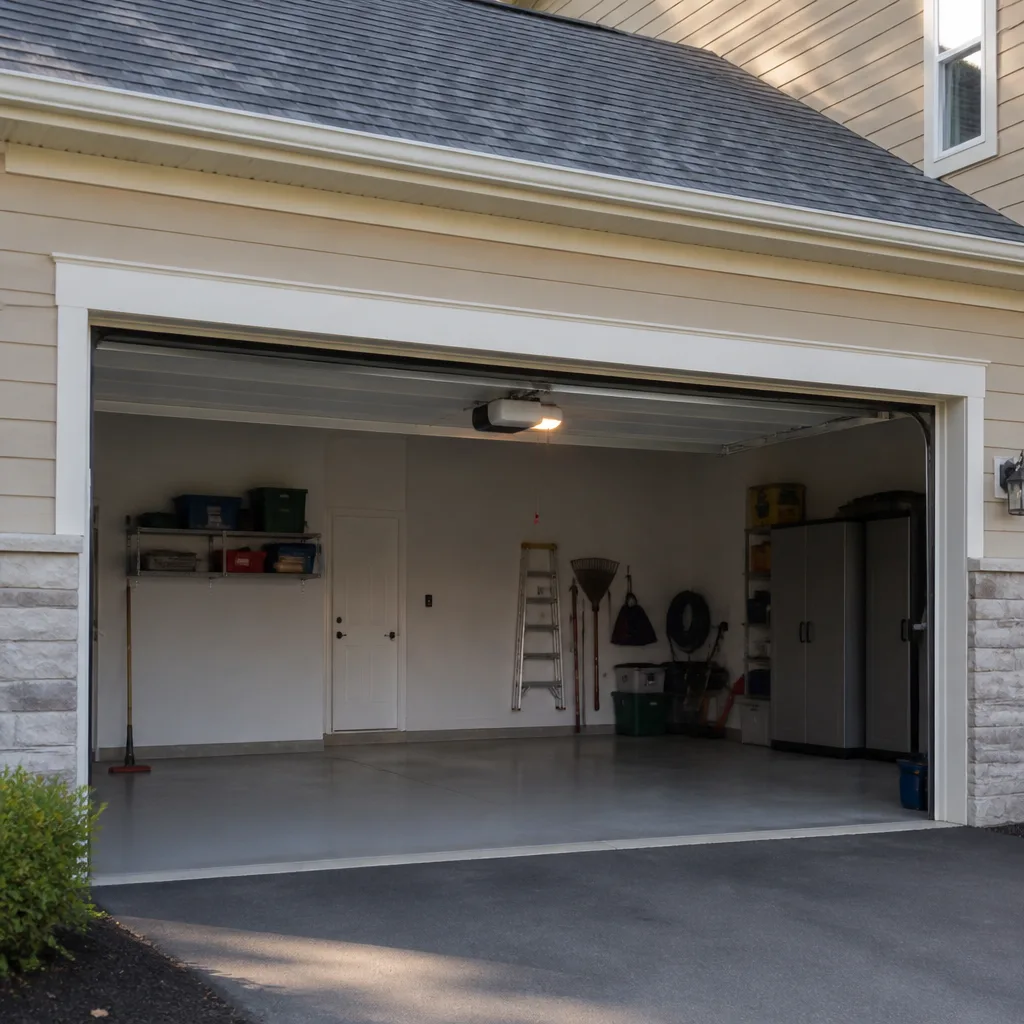 Chamberlain openers
Full 25-point door and opener safety check with every visit - springs, cables, rollers, tracks, and your LiftMaster or Chamberlain opener included
You get a price before we start. It does not change when the pro arrives.
Get your free estimateGarage Door Repair Maintenance Checklist for Odenton Homeowners
Most garage door maintenance checklists are written to be read and forgotten. They hand you ten vague items, none of which tell you whether a wobble is cosmetic or the first sign of a four-figure failure. This guide works differently. We’ve split every task into three tiers: what you can safely do yourself, what you can do with some risk, and what belongs only in the hands of a trained technician. Odenton’s freeze-thaw winters and humid summers put specific stress on door hardware, and the checklist below is built around that rhythm. You’ll learn what to check, when to check it, and which warnings mean stop.
Quick Answer
A garage door maintenance checklist for Odenton homeowners should cover lubrication, balance testing, auto-reverse testing, track inspection, roller and hinge checks, weather seal condition, and a visual inspection of cables and springs. You can handle lubrication, balance testing, and seal checks yourself. Cables and torsion springs are professional-only. The single most important habit is a monthly visual inspection, because most failures announce themselves weeks before they happen.
Styles & brands we work with
- Raised-panel steel
- Carriage house
- Modern flush
- Full-view glass
- LiftMaster openers
- Chamberlain openers
Table of Contents
- The Three-Tier Task System
- Monthly Checks You Can Do in Ten Minutes
- The Four-Minute Balance and Auto-Reverse Test
- Lubrication: The Right Product and the One That Ruins Rollers
- Seasonal Timing for Odenton’s Weather
- The Professional-Only Jobs (And Why)
- Building a Maintenance Log That Actually Gets Used
- Common Mistakes to Avoid
The Three-Tier Task System
Garage door maintenance isn’t a flat list. It’s a hierarchy of risk, and treating every task the same way is how homeowners end up injured or overcharged. We sort every task on a door into one of three tiers, and that sorting is the foundation of everything else in this guide.
- Tier one: homeowner-safe. Lubrication, visual inspection, balance testing, auto-reverse testing, and cleaning the photo-eye lenses. These require no tools beyond a rag and a can of lubricant, and there is no injury risk when done with the door closed and the power off.
- Tier two: homeowner-optional with risk. Replacing bottom weather seals and adjusting roller brackets a quarter turn. These are within reach for a careful homeowner, but they involve ladders and load-bearing hardware, and a mistake can misalign a track.
- Tier three: professional-only. Torsion springs, extension springs, lift cables, drums, and any work that requires the door to be under tension. This tier is where the serious injuries happen, and no amount of instructional video makes it a homeowner task.
The point of the tiers is honest self-assessment. If a task sits in tier three, the correct maintenance action is to watch for symptoms and call. We say springs are the most dangerous part of a garage door, and this is not a DIY repair. That’s not a sales line – it’s a description of what a wound torsion spring stores. A properly installed spring holds enough torque to cause severe injury if released, and there’s no safe way to reason about it from the outside.
Every brand we service – whether it’s a LiftMaster opener system, a Raynor door, or a Chamberlain unit – follows the same tier logic. The hardware differs; the risk categories don’t.
Monthly Checks You Can Do in Ten Minutes
A monthly walkthrough catches the majority of developing problems before they become expensive ones. These checks all live in tier one, so they’re safe and require no tools.
- Listen to the door. Run it up and down once. A healthy door produces a steady, even hum. Grinding, squealing, or a rhythmic thud points to a lubrication gap, a loose roller, or a failing bearing.
- Watch the door’s travel. Stand back and watch the whole cycle. The door should move smoothly with no jerking, no visible sway in the tracks, and no racking from side to side.
- Check the photo-eye safety sensors. The two small lenses near the floor on each side should both be lit. Dust and cobwebs are the most common cause of a door that refuses to close, and a quick wipe solves it.
- Inspect the tracks by eye. Look for dents, debris, and any spot where the rollers look like they’re riding against the edge rather than centered.
- Look at the springs and cables – from a distance. You’re not touching anything. Check for visible gaps in a torsion spring, a stretched extension spring, or a cable that appears loose or frayed.
Ten minutes a month in Odenton is enough to catch most of what goes wrong. The failure pattern we see most often isn’t dramatic – it’s a small issue left for two or three seasons until it compounds. A loose roller bracket bends a track, the bent track pulls a cable off its drum, and the uneven load wears a spring prematurely. Each individual step is preventable. The compound failure is not cheap.
The Four-Minute Balance and Auto-Reverse Test
The balance test and the auto-reverse test together take under four minutes and give you a clear pass/fail read on the two most important safety systems in your door. Run both once a month, and again after any temperature swing big enough to change how the door sounds.
The balance test: step by step
- Close the door fully and pull the red release handle to disconnect the opener.
- Lift the door about halfway by hand. Use one hand and let the door’s springs do the work. It should feel light – a door that needs real effort has a spring problem.
- Let go at the halfway point and watch. It should stay where you put it, without drifting up or down.
- If it slides shut on its own, the springs are under tensioned. If it drifts up, they’re overtensioned. Either way, the fix belongs to a technician – spring tension is tier three.
- Reconnect the opener by running it until the carriage clicks back into place.
Pass criteria: the door stays put at the halfway point, or moves only slightly. Fail criteria: the door falls or rises on its own, which means the springs need professional adjustment.
The auto-reverse test: step by step
- Place a two-by-four flat on the floor in the door’s path.
- Close the door with the opener. When it contacts the wood, the door should reverse immediately.
- Remove the wood and repeat with the photo-eye test – wave your leg through the beam near the floor while the door is closing. It should reverse on contact.
Pass criteria: the door reverses on both the pressure test and the beam test. Fail criteria: the door continues closing regardless. A door that fails auto-reverse is a genuine safety hazard, especially in households with kids or pets. Stop using it and call for garage door opener repair.
Lubrication: The Right Product and the One That Ruins Rollers
Lubrication is the single highest-value task on the list, and it’s also the one most commonly botched. The wrong product does more damage than no product at all, particularly on modern doors that use nylon rollers.
Where to lubricate
- Rollers: the roller stem and bearing, not the roller surface. Two or three drops per roller.
- Hinges: at every pivot point along the horizontal tracks.
- Bearings: the bearing plates at the ends of the torsion tube.
- Track: the curved section of the track where the rollers transition from vertical to horizontal – never the full length of the straight section.
What to use
Use a garage door specific spray lubricant, usually a lithium or white-lithium grease marked for this exact purpose. It stays put and doesn’t attract dirt.
What never to use
WD-40 in the classic blue-and-yellow can is a solvent and water displacer, not a lubricant. It strips existing grease and leaves the door drier than before. Worse, silicone-based sprays and some multi-purpose lubricants react with nylon roller compounds and accelerate cracking. Nylon rollers are common on modern doors, so if you don’t know what your rollers are made of, ask before you spray.
We work on the brand you already have, whether that’s a Craftsman opener with a standard steel roller setup or a LiftMaster system paired with nylon rollers. The lubricant rules are the same, but the products that hurt the door aren’t.
Seasonal Timing for Odenton’s Weather
Timing matters as much as the task. Odenton’s weather is a two-tone problem: a winter that regularly freezes and thaws, and a summer that brings heavy humidity. Each one stresses different parts of your door, and each one rewards a different maintenance focus.
- Late fall, before the first freeze: cable inspection is the priority. Cables contract in cold and a frayed cable that’s survived the summer has its worst chance of failing under a cold load. Also check weather seals – a dried seal will crack in the first hard freeze. This is also the right window for a professional check, since spring failure rates climb with temperature swings.
- Mid-winter: watch the roller sound. Cold stiffens grease and roller bearings, so a door that ran quiet in October can start grinding in January. A quick re-lubrication after a cold snap is worth doing.
- Early spring, as the ground thaws: check the door’s balance and check that the bottom seal hasn’t shifted with frost heave. Track alignment issues become obvious here.
- Post-humidity season, late summer into early fall: the track check. Humidity swells wood framing and door panels, and the track often needs a look for rust or misalignment. Lubricate again before the cold sets in.
Practically, this means two deep maintenance sessions a year (late October and late August) with monthly walkthroughs in between. If your door has failed in the winter and the situation can’t wait, we run emergency garage door response specifically for that.
The Professional-Only Jobs (And Why)
Some jobs you can do at home, and some you can’t. The following list isn’t a suggestion – it’s the hard line of things we won’t walk a homeowner through, because the risk of serious injury is real and no instructional shortcut changes that.
- Torsion spring replacement. The spring above the door stores enormous torque. Winding a spring requires specific tools and a trained hand, and a spring that slips is a genuine hazard. This is the most technically demanding job in the trade and it belongs to a technician.
- Extension spring replacement. Slightly less dangerous than torsion springs but still under tension, and still a contributor to some serious injuries.
- Lift cable replacement. Cables carry the door’s full weight. A cable that fails mid-replacement lets the door drop.
- Drum and cable re-spooling. When a cable comes off its drum, the drum must be re-wound correctly and the spring loaded back to matching tension. This requires a technician’s tools and experience.
- Any work on a door that’s fallen off its tracks. A door off its tracks is unstable, and moving it by hand can cause it to collapse. Stop, and call.
We handle garage door spring repair as one of our core services, and the reason we name it explicitly is that it’s exactly where a general handyman runs out of capability. A broken spring is the most common single failure on a residential door, and the correct repair addresses the door’s balance, not just the broken part. A matched pair gets replaced together, and if only one spring has broken, the safest result usually comes from replacing both so the door operates under even tension again.
If you don’t want to reason about which jobs are safe, the shorthand is simple: if you have to put a tool on a load-bearing part and the door is under spring tension, call. That covers springs, cables, drums, and any track realignment close to the spring. Our technicians have up to 9 years of experience across these jobs, and they work on whatever door is already in your garage.
Building a Maintenance Log That Actually Gets Used
A maintenance log is worth building for three reasons: warranty claims, resale disclosure, and your own memory. Spring replacement carries a warranty, and it’s typically honoured when the spring fails as a manufacturing defect, not when it’s been in service long enough to have reached normal life. A simple log makes it clear which scenario applies.
Keep it simple. A single page per garage door, either on paper taped inside a cabinet or as a note on your phone. The following fields are enough:
- Date of each maintenance session. Monthly check, seasonal deep clean, and any technician visit.
- Task performed. Lubrication, balance test, auto-reverse test, seal check, professional repair.
- Result. Pass or fail on balance and auto-reverse, and any anomalies you noticed.
- Technician recommendation. Anything a pro flagged as a “watch item” so you can follow up on your next cycle.
- Parts replaced. Spring, roller, hinge, cable, opener – with the date. This matters most for resale, when a buyer’s inspector asks for the door’s history.
Logs are also useful when you book garage door repair, because you can tell the technician what you’ve already checked. It shortens the diagnostic and gets you an answer faster. If your door is a Chamberlain or a Genie and you’re unsure of the model year, a written record since you moved in usually fills that gap.
Common Mistakes to Avoid
These are the mistakes we see most often on Odenton doors. Each one shortens the life of your equipment or makes a repair inevitable that a small preventive step would have avoided.
- Using WD-40 as garage door lubricant. It strips existing grease and leaves the rollers dry. A proper garage door lubricant costs about as much and does the actual job.
- Lubricating the full length of the track. Only the curved transition section needs it. Greasing the straight section collects dirt and turns into a grinding paste that eats rollers.
- Lubricating the torsion spring. Springs are not a lubrication target, and spraying them can trap grit that accelerates wear.
- Skipping the balance test because the door “works.” A door can run perfectly and fail the balance test. A failing balance test is the earliest warning you get before a spring breaks, and skipping it forfeits the warning.
- Tightening a loose roller bracket without checking why it’s loose. Loose brackets mean the door is misaligned or a track is out of square. Tightening the bolt hides the symptom and leaves the underlying problem to keep bending the track.
- Ignoring the bottom weather seal through winter. A dried or cracked seal lets cold air, moisture, and in some cases pest into the garage. Replacing the seal is a tier two task and inexpensive when caught before it hardens further.
- Running the door after a visible cable issue. A frayed cable is a “tomorrow” repair. Once it’s running on the remaining strands, it’s a same-day emergency.
See the difference
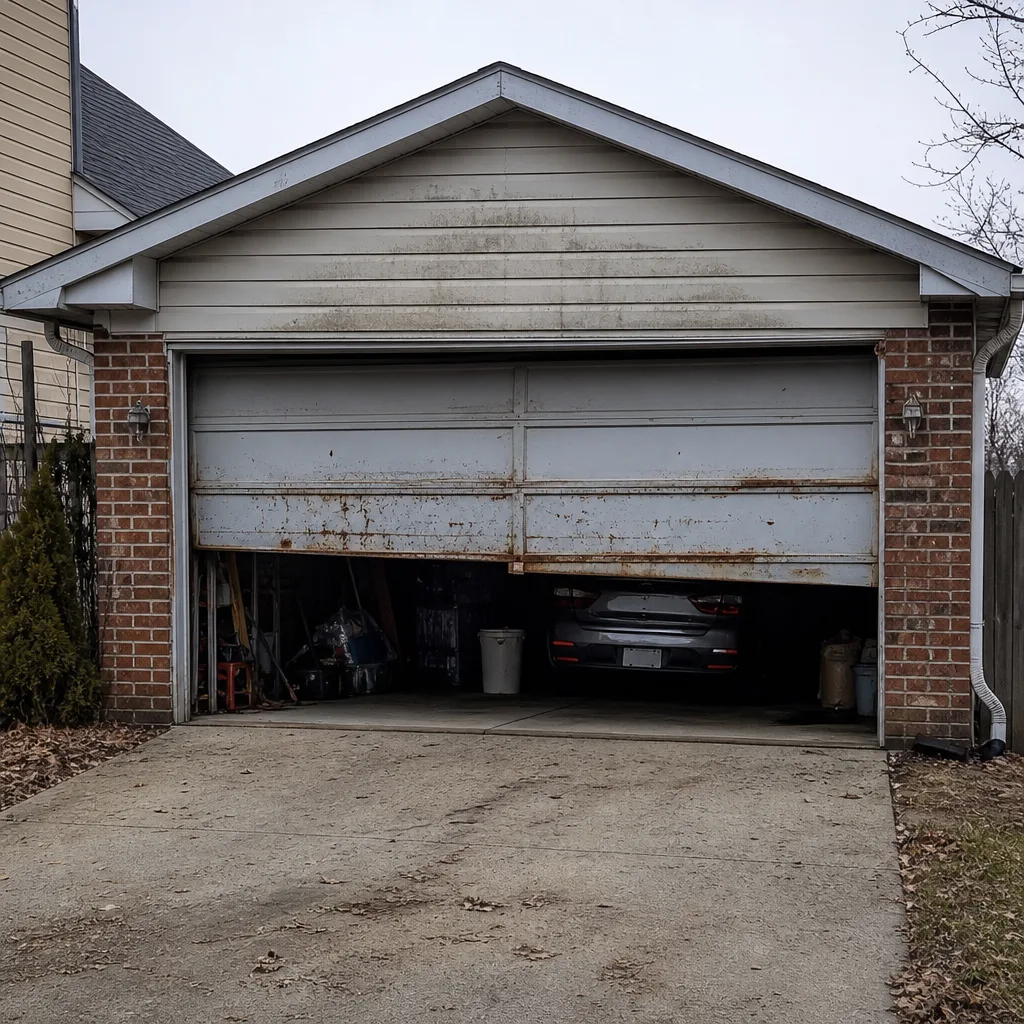 Before
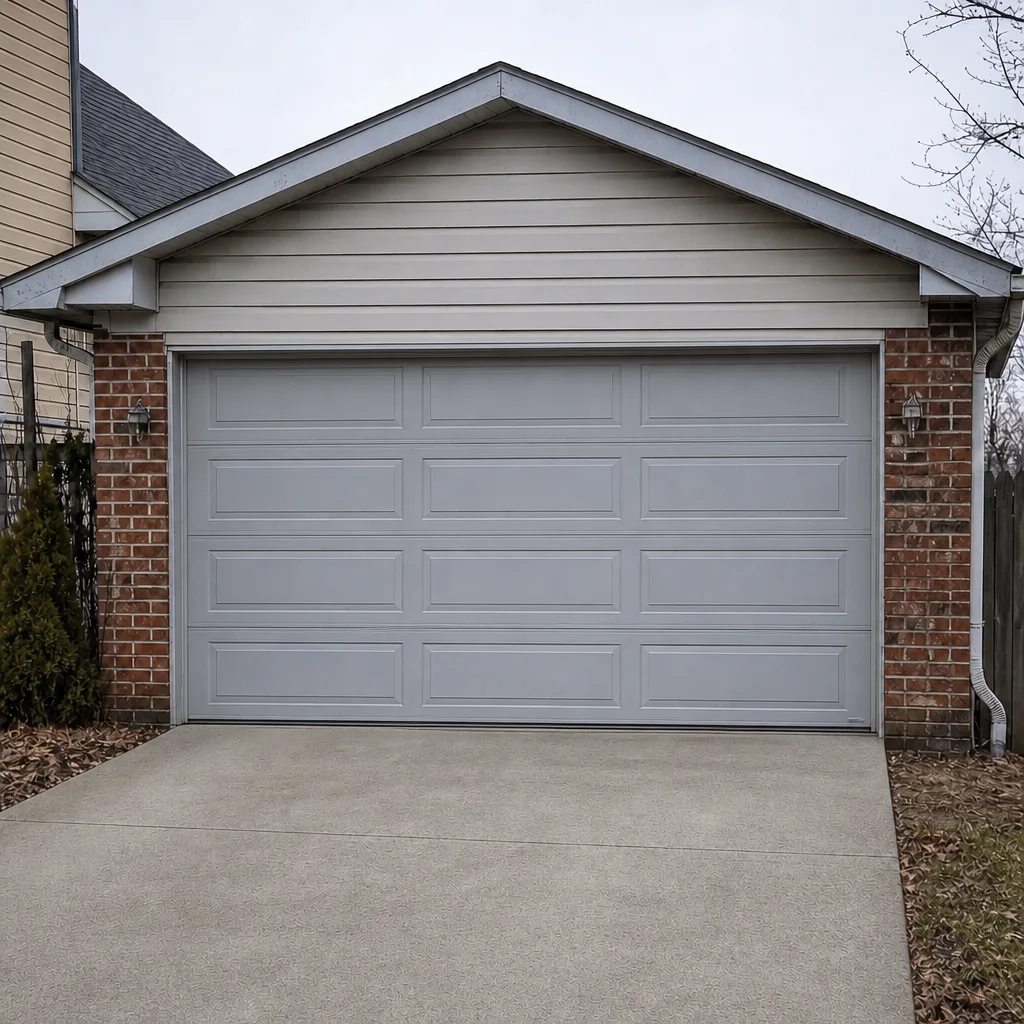 After
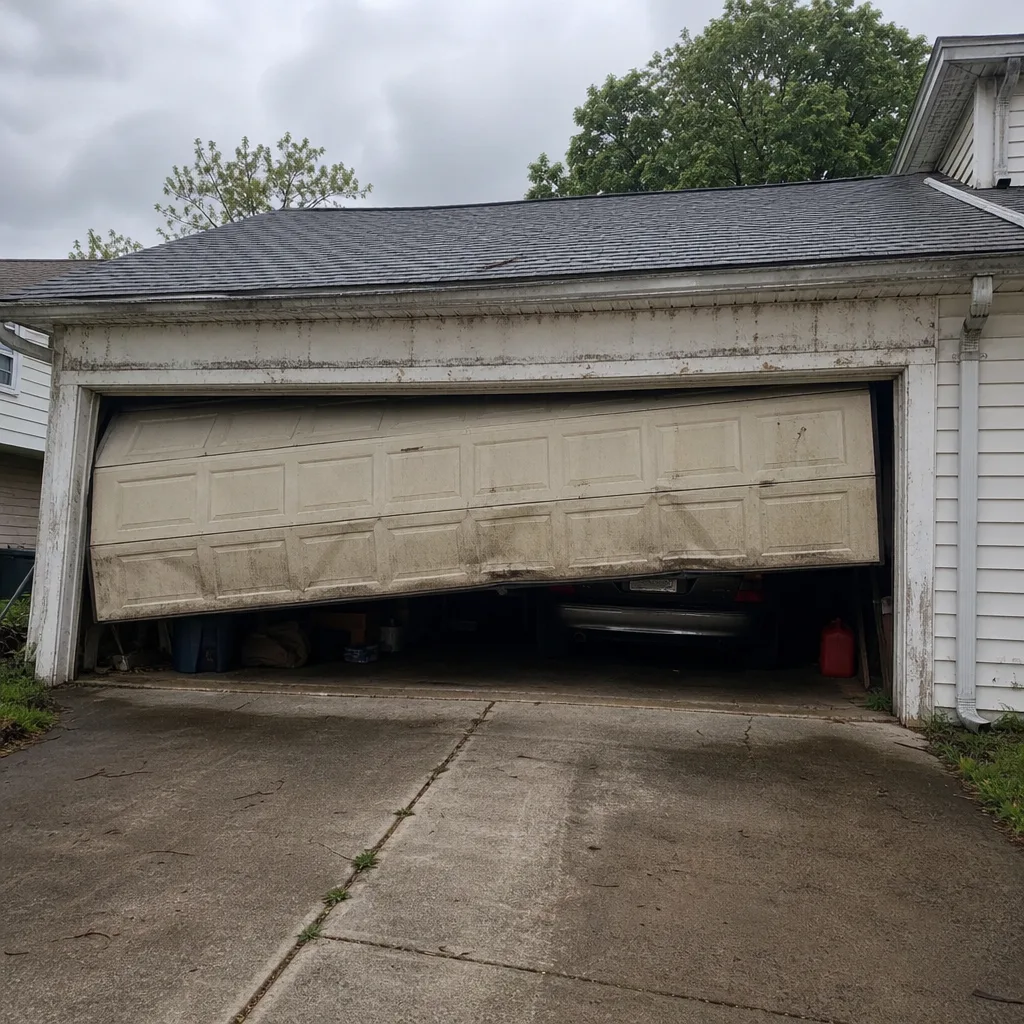 Before
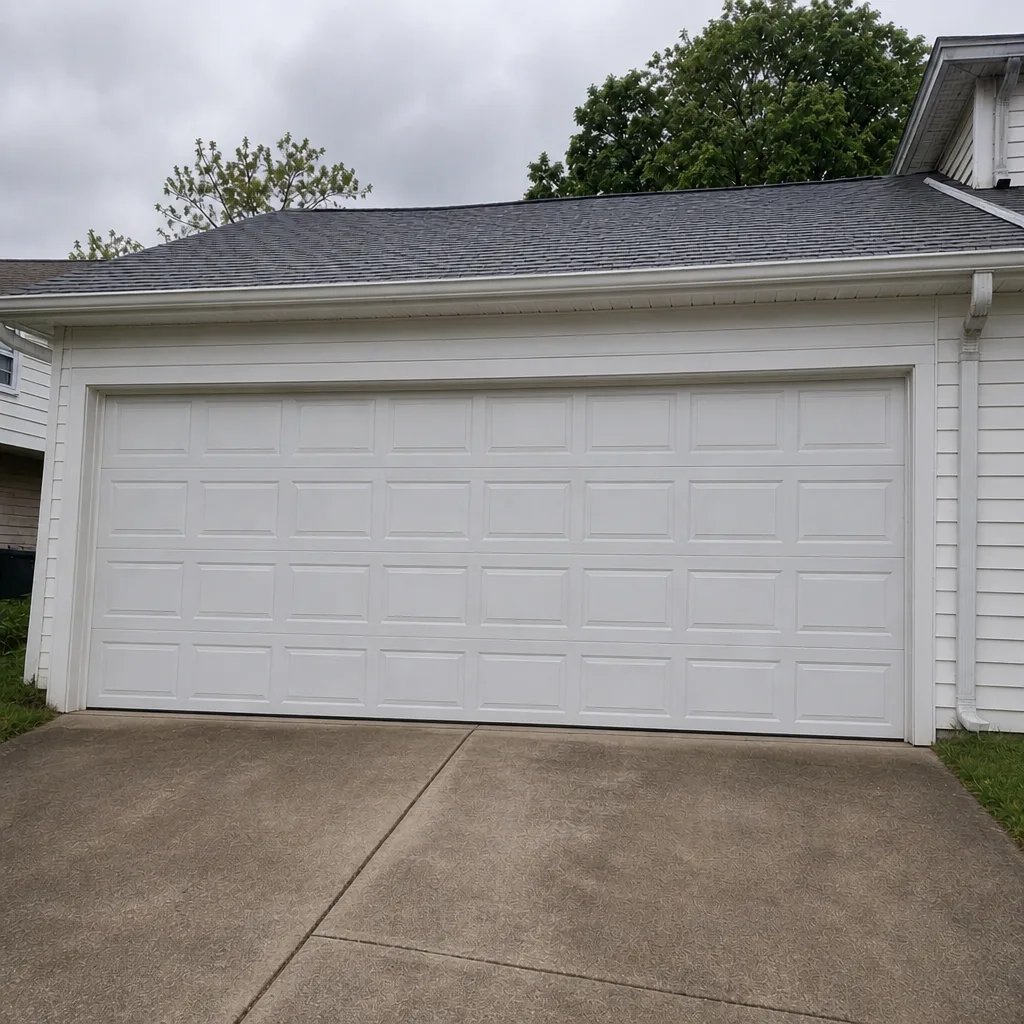 After
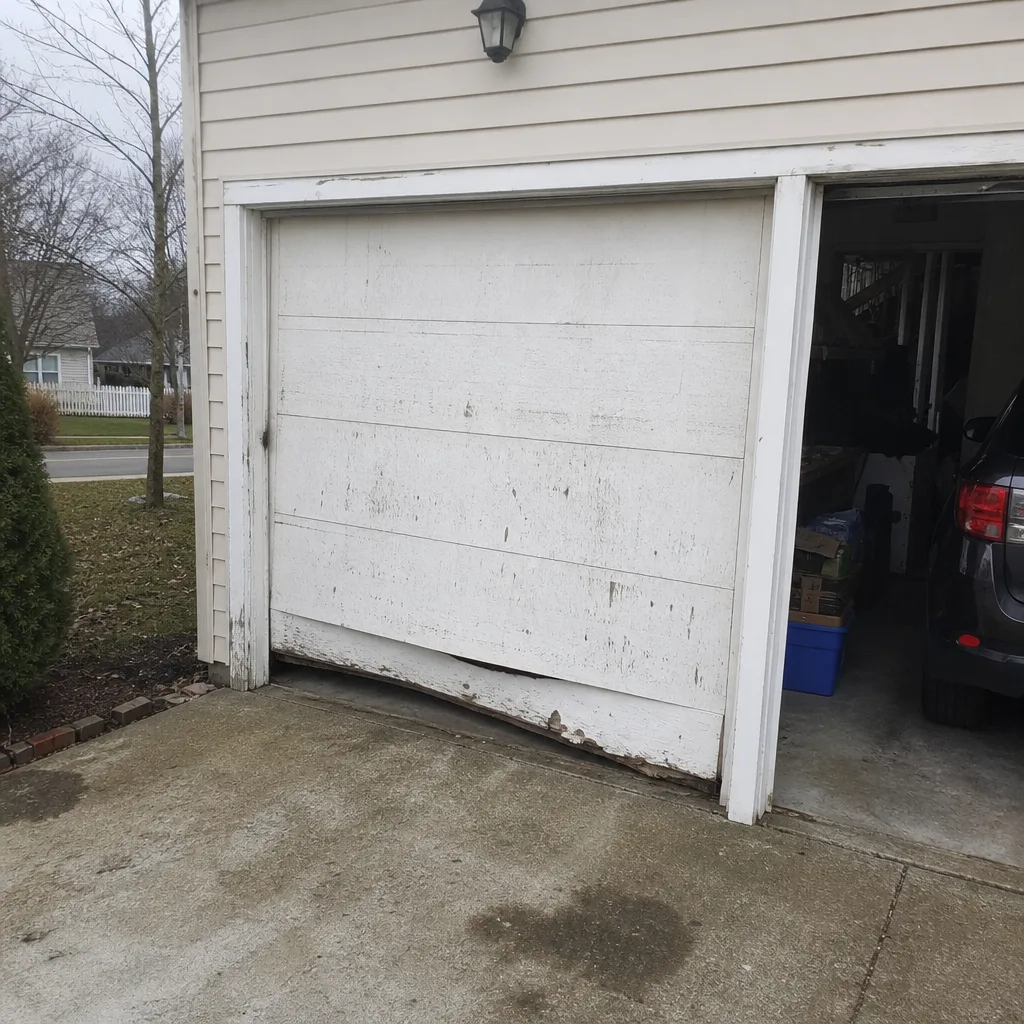 Before
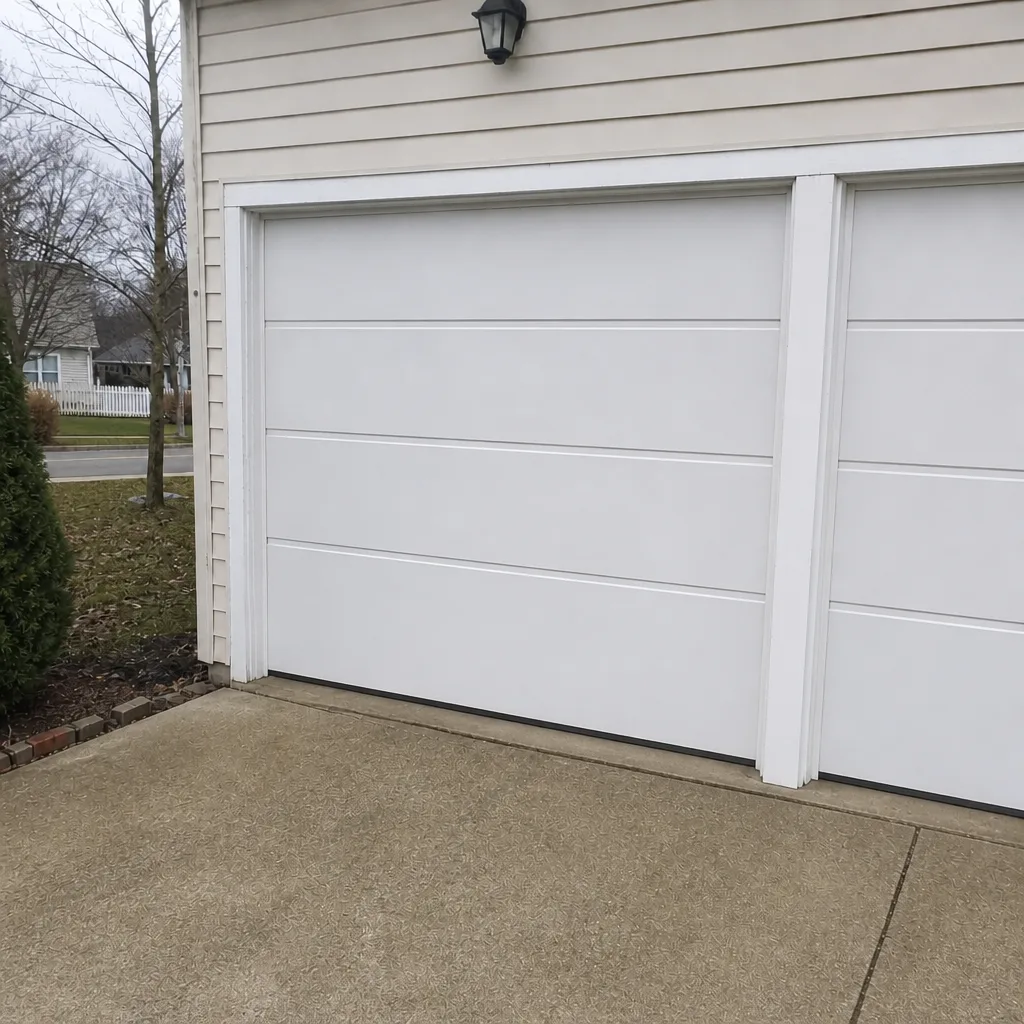 After
When to Call a Professional
Some problems are worth a call even if you’re comfortable with your monthly checks. Call a technician if any of the following is true:
- The balance test fails – the door drifts up or down on its own.
- The auto-reverse test fails – the door does not reverse on contact with the wood block or the photo-eye beam.
- You see a visible gap in a torsion spring, a stretched extension spring, or a frayed cable.
- The door is off its tracks, sagging on one side, or visibly out of square.
- The opener runs but the door doesn’t move, or the door jerks, tilts, or binds mid-travel.
- You want a professional assessment before winter, regardless of what the checks show.
If any of these are present, don’t run the door for another cycle to “check”. That next press of the remote is how tier one problems become tier two or three ones. Garage Door Repair Odenton offers free estimates in Odenton – call (844) 443-4564. We answer 24/7. Fast dispatch from 7am to 7pm, Sunday through Friday, and the written estimate is agreed before any work starts.
Frequently Asked Questions
Most Odenton homes benefit from a professional service once a year and a homeowner walkthrough once a month. The local climate – freeze-thaw winters and humid summers – puts more wear on seals, cables, and rollers than a stable climate does, so the annual visit is genuinely useful and worth keeping. Call (844) 443-4564 for a free estimate on an annual service check.
No. Torsion springs and extension springs are under enough tension to cause serious injury, and the correct tools for winding and setting them are not sold at hardware stores. Replacing your own spring is one of the highest-risk homeowner repairs in a house, and it’s a professional-only job. Call (844) 443-4564 and we’ll give you a straight answer and a written estimate.
Use a garage door specific lithium or white-lithium spray lubricant. Avoid WD-40 in the classic blue can, which strips existing grease and acts as a solvent rather than a lubricant. Avoid silicone sprays if your door has nylon rollers, because some silicone products accelerate the cracking of nylon compounds. For an exact recommendation matched to your door and its rollers, call us.
A door that stops closing mid-travel is almost always an obstructed photo-eye sensor or a misaligned safety beam. Wipe both lenses near the floor and check that the two lights are lit. If the lights are lit and the door still stops, the problem is in the opener or a limit setting and needs a specialist. For that, call (844) 443-4564 – we handle garage door opener repair across all the mainstream brands.
Not always, but it catches the signs that precede one. Balance test failures, door drift, and even running noise are the warning signs of a spring losing tension, and a professional check identifies them early. Catching this early often means replacing one spring instead of the full hardware around it. Spring repair is safest scheduled before a failure, not after. Call for a free estimate.
Maintenance pricing is per job and set by the written estimate, which is free. The exact figure depends on the door’s condition, the parts involved, and whether anything needs replacing. We give a written quote before any work starts. Call (844) 443-4564 for a free estimate – the price you agree to is the price you see.
The Bottom Line
Garage door maintenance is mostly a sorting problem. Torsion springs, cables, and drums stay professional-only, no exceptions. Lubrication, balance testing, auto-reverse testing, and visual checks belong to you and take ten minutes a month. Add two seasonal deep sessions – one before the freeze and one after the humidity – and you’ve caught most of what fails prematurely in an Odenton garage. Keep a simple log for resale and warranty. And when a check fails, don’t run the door “one more time” to be sure. Call Garage Door Repair Odenton at (844) 443-4564 for a free estimate. We answer 24/7, dispatch from 7am to 7pm Sunday through Friday, and we’ll give you the straight answer – whether your door needs a fix or a full replacement.
For the full picture of what a specialist does on a door beyond this checklist, see Garage Door Repair Odenton, or go straight to garage door spring repair if a spring is your concern.
Written by the team at Garage Door Repair Odenton.